Setting up Nvidia Drivers for GPU access on Ubuntu

Read on Medium
After upgrading my Ubuntu from 18 to 22, I was left with no Nvidia drivers on my computer. When I type nvidia-smi and nvcc -v there was no good output (see the image below). So, I planned to share my method for setting up GPU drivers on my computer with the world. If your situation is the same, then follow along.
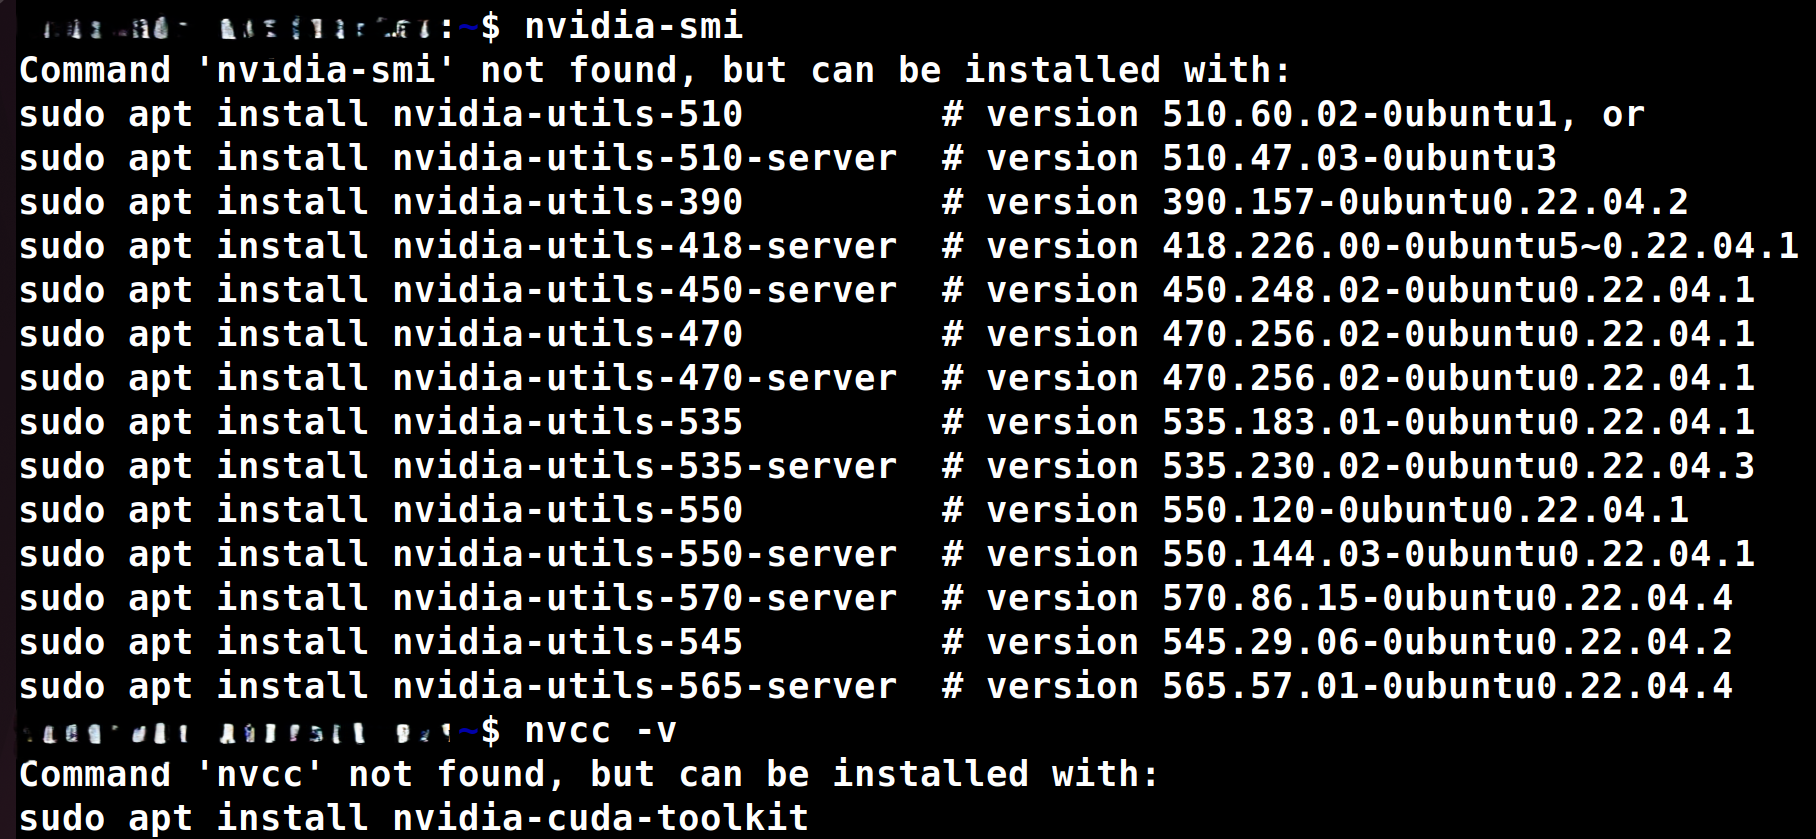
No good output for nvidia-smi and nvcc -v
Before starting, I will give a short lesson on drivers
Drivers allow OS ↔ hardware communication. NVIDIA drivers are essential to communicate with your GPU, for graphics and compute functionality.
Drivers are software that act as translators between your OS and the hardware (like the GPU, printer, or keyboard). NVIDIA drivers are crucial to communicate correctly with NVIDIA GPUs. Nvidia Graphics Drivers for rendering visuals in games and videos, and Compute Unified Device Architecture (CUDA) Drivers for GPU-accelerated computations like deep learning and scientific computing.
Now let's start with
The real processes
Check if your system detects the GPU
lspci | grep -i nvidia
This will check for the presence of an NVIDIA GPU in your system. If this command doesn't give a good output like in the image below, then you can stop here, because your system doesn't have an NVIDIA GPU or it is not detecting the GPU.

My system is detecting the Nvidia GPU
Install Drivers
If the above commands work, then try nvidia-smi, you might get a list of drivers as the output of nvidia-smi (see the image above). Normally we need to select the best driver, but sometimes we may not be up to date with the new driver details, so we can offload the driver version decision to our system by giving the command ubuntu-drivers devices this will show a list of available and compatible drivers for our GPU, then we will auto install the best driver using sudo ubuntu-drivers autoinstall this will show long commands running and installing, don't worry it is installing the best driver. On finishing, just give a good sudo reboot (restart) to your system, so the system can understand the new changes.
In between let me explain what is happening - When you install drivers using
sudo ubuntu-drivers autoinstall, you're installing some files that allows Linux to detect and communicate with your GPU, this will enablenvidia-smito show a box output. If you want to use GPU-accelerated apps like Blender, video editors, or run ML/DL programs (eg, inference using PyTorch or TensorFlow), then installing the driver is enough. But if you want to go further into ML/DL development and LLM finetuning which uses libraries like xFormers, bitsandbytes, and triton then you need to do some more steps, i.e installingnvidia-cuda-toolkit.
Checking nvidia-smi; Install nvidia-cuda-toolkit
Note: Read this section fully before running any commands
After reboot get into the terminal and quickly type nvidia-smi and you will get a box like output with information such as your GPU name, power usage, memory usage, CUDA version, processes utilizing gpu currently etc...but when typing nvcc -v there won't be any output and it will ask you to install nvidia-cuda-toolkit, and we need to do sudo apt install nvidia-cuda-toolkit which may take some time. This is linked with the ubuntu version you have, for Ubuntu 22.04, CUDA 11.7 or later may be installed, this is easy when you need to install cuda-toolkit for a usecase which requires any version above 11.7 (here). But If you want a specific version, like CUDA Toolkit 12.8, you need to install it manually from this website by selecting the version you need, giving info such as OS, Architecture, Distribution, Version, Installer Type and finally following the commands displayed.
On finishing, check the output of nvcc -v to confirm it has installed the toolkit.
PyTorch Installation (Optional)
Start Locally with PyTorch
I need to install PyTorch for some coding purposes. I will be doing it in a conda environment (if you're not familiar with conda, you can use Python Virtual Environments, or you can follow this conda website to install conda, create and activate a new environment) and install the latest PyTorch that is compatible with your CUDA version - see their Start Locally Website, give details like your OS, package, language, compute platform and copy the final command and run on your virtual environment to install Pytorch, this will take some time based on your internet speed.
Checking if torch can access our GPU
Enter Python IDLE on the terminal and run import torch; torch.cuda.is_available() - if it returns True, then your installation is successful. Otherwise, there is a problem with any commands or installations. If you have noticed any warning, red command, etc...then debug on that.

Checking if torch can access our GPU, on Python IDLE
Test your installation
Setting up a local LLM
If everything is fine, we can try setting up Ollama (Website | GitHub) and test whether an LLM is able to use our consumer GPU to predict tokens.
Install ollama using curl -fsSL https://ollama.com/install.sh | sh wait for it to finish and, finally, you can see a message from Ollama NVIDIA GPU installed and you can run a small LLM like llama or mistral (ollama run mistral) and test whether they're utilising our GPU by checking nvtop or see if the LLM is generating the text fast.
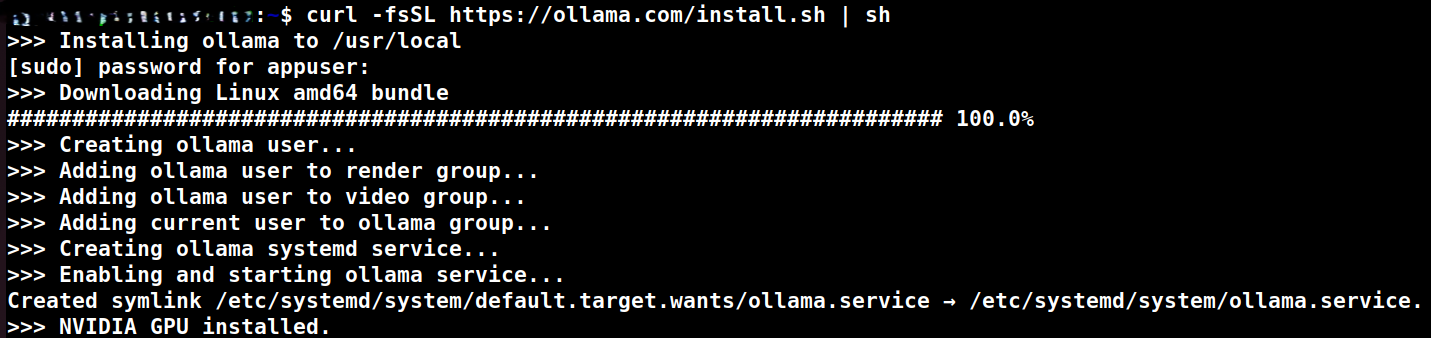
Ollama detects our GPU
So that's it, now you will have GPU acceleration for your tasks. Good Luck!